DIY Bidet Installation – A Step‑by‑Step Guide for Brave Souls
Posted by Barry S. on 2nd Sep 2025
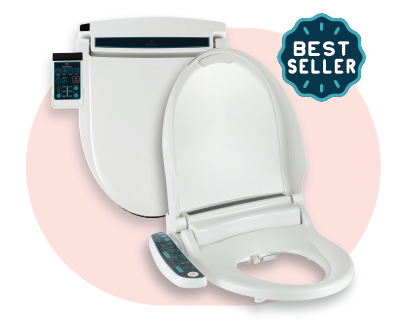
Upgrading to a bidet is one of the quickest ways to turn a boring bathroom into a spa‑like retreat. But if you’re worried that installation requires a master plumber and a prayer, relax. With the right tools and a little patience, anyone can swap out a toilet seat for a sleek, hygienic bidet seat.
1. Prep your throne
Start by taking off your old toilet seat. Most seats simply unscrew from the bolts under the bowl; this is a great time to scrub away any grime hiding under there. Once the seat is off, locate the water shut‑off valve on the wall and turn it clockwise to shut off the water supply. Flush the toilet to drain the tank. Keeping towels or a rag handy will catch any drips.
2. Install the T‑valve and hoses
Under the tank you’ll find the water supply hose. Unscrew it and wipe up any spilled water. Thread the provided T‑valve onto the toilet’s threaded pipe, then reconnect the toilet’s water supply hose to the bottom of the T‑valve and the bidet hose to the middle. Hand‑tightening is usually enough, but you can use a wrench gently if needed. Many modern T‑valves include rubber washers, so skip plumber’s tape unless the instructions say otherwise.
3. Mount the bracket
With the plumbing sorted, it’s time to install the mounting plate. Some seats include top‑mounting sleeves for skirted toilets; insert those into the bowl’s bolt holes, then align the mounting plate over the holes and secure it with screws or bolts. Use the provided template if available – correct placement makes sliding the seat on later a breeze.
4. Attach the seat and test for leaks
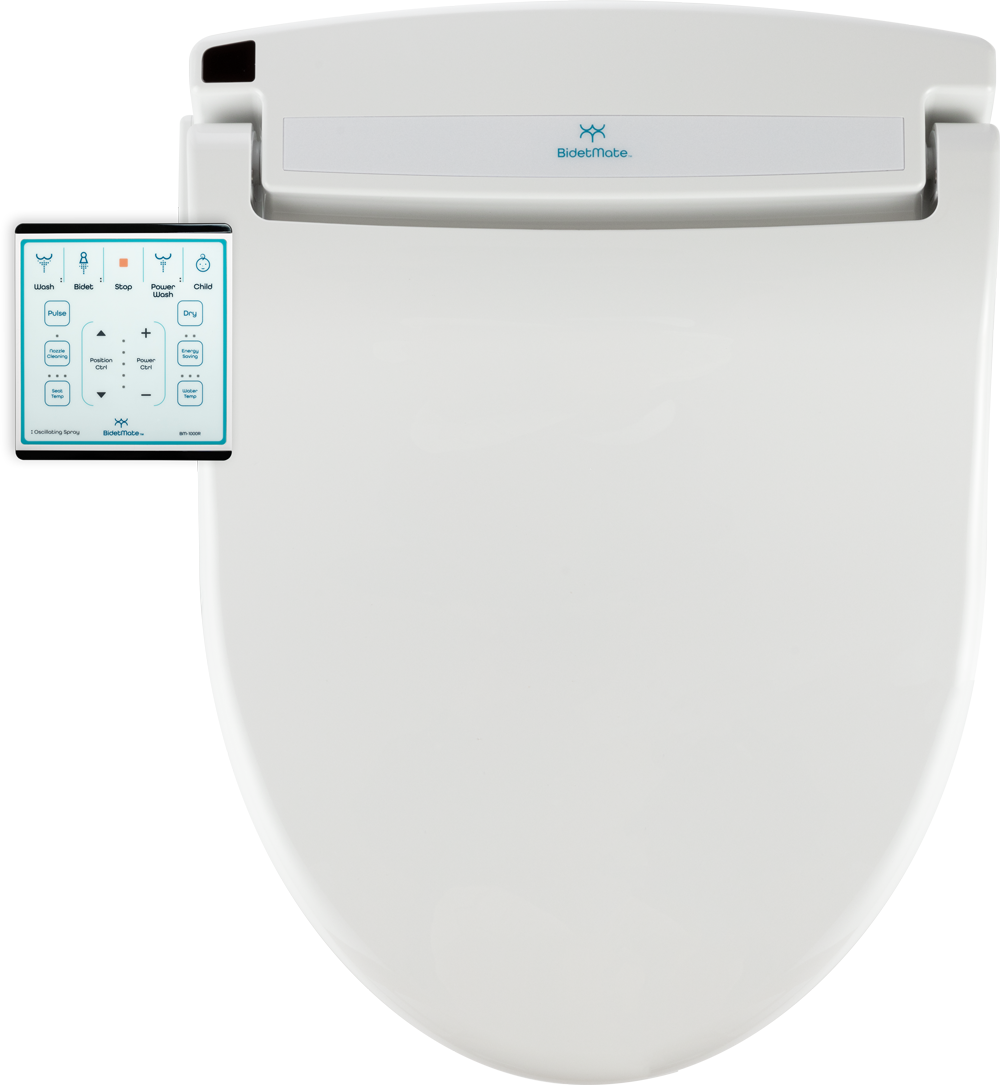
Slide the bidet seat onto the mounting plate until it clicks. If it wiggles excessively, tighten the plate and try again. Connect the bidet hose to the seat’s water inlet, then slowly turn the water back on and check all connections for leaks. Plug in the seat if it’s electric and test the spray functions; most seats require someone sitting on them to activate. Congratulations – you’ve installed a bidet without any swear words (hopefully).
**Pro tip:** save your old seat in case you move or need to send your bidet in for repairs.
5. When to call a professional
If your bathroom layout is unusual, your toilet is skirted or you’re installing a high‑end integrated bidet toilet, professional help might be worth the cost. Integrated units can be heavy and require drilling into the floor. And if you’re at all unsure about electrical wiring, call an electrician – water and electricity don’t mix.
With the right preparation and a calm approach, a weekend DIY project can deliver a lifetime of clean comfort.